Rapid Prototyping & 3D Printing
In this unit, students will learn the basics of how to create custom, 3D printed components using Tinkercad. Students will gain confidence as they design and print a custom airplane propeller that snaps onto a model airplane. Then, students will have an opportunity to apply what they have learned throughout the unit as they participate in a fun free build challenge.

Taking Flight, Part 1 - Exploring the Tinkercad Workspace
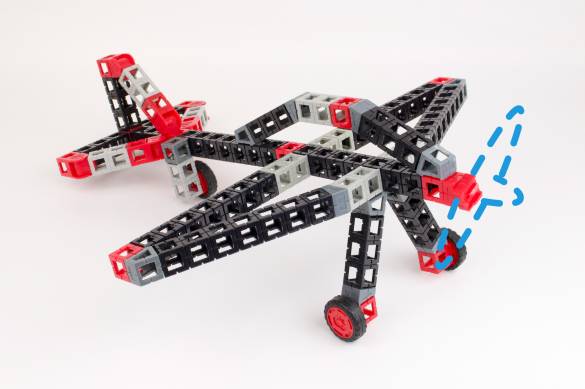
In this lesson, students will start out using Kid Spark engineering materials to assemble an airplane model that is missing a propeller. Then, students will set up a Tinkercad account and explore the Tinkercad workspace.

Taking Flight, Part 2 - Importing & Manipulating Objects
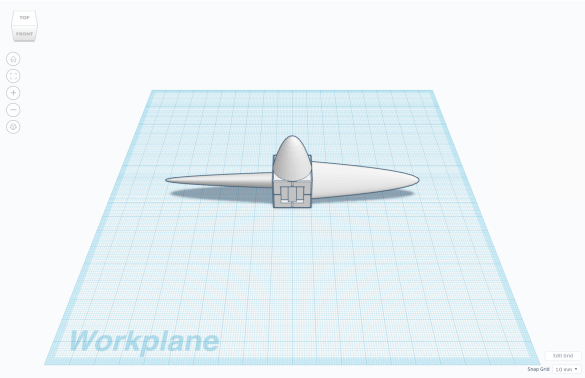
In this lesson, students will explore Kid Spark’s 3D virtual parts library. Students will also learn how to import and manipulate objects in Tinkercad as they prepare to create a new propeller for the airplane they built in Part 1.

Taking Flight, Part 3 - Creating a New Design
In this lesson, students will learn how to use some of the basic tools in Tinkercad as they create a custom propeller for their airplane. Students will create a 3D, virtual propeller and prepare it for 3D printing.

Taking Flight, Part 4 - 3D Printing a Design
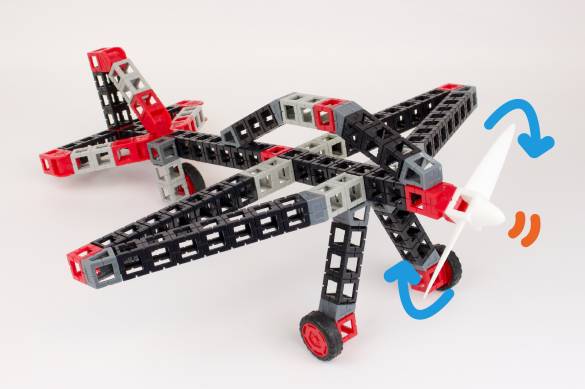
In this lesson, students will learn how to 3D print the custom airplane propeller they designed throughout the previous lessons. After the propeller has successfully printed, students will clean it and snap it on the Kid Spark airplane.